Design case spotlight: Denise Wien
Did you know that we already completed ten case studies to inform our Design Your Life method and toolkit? In this series we will highlight these case studies, starting with Denise Wien!
Why case studies?
In these case studies we are able to test different versions and/or different aspects of the toolkit. In the concluded case studies we investigated digital and physical toolkits, ways of supporting the participants while doing the toolkit, different kinds of activities, different ways of presenting information, and the impact of the toolkit on the participants. The majority of these case studies were performed as graduation assignments by both BSc and MSc students Industrial Design Engineering at University of Twente. One case study was performed by Niels van Huizen, PhD-student in the Design Your Life project. Denise’s case study was part of her graduation assignment at Communication & Multimedia Design at HAN University of Applied Sciences.
Supporting an online toolkit
Denise: ‘During the period from February to June 2021, I carried out my graduation assignment for the project Design Your Life. Within the project, I focused on the case study: ‘Creating a set of tools that can help prepare, support, and facilitate young adults with autism and their caregiver(s) in an online collaboration (co-design), for the development of the Design Your Life method.’
I formulated this into the research question: “What set of tools can support the young adult with autism and caregiver while collaborating online, for the development of the Design Your Life method?“‘
The resulting prototype allows the young autistic adult to track their progress and support any situation that might occur during an online co-design session. The participant is able to track their progress, communicate using cards in front of a camera, and receive prompts on what to do next.
Read more about her case study here.
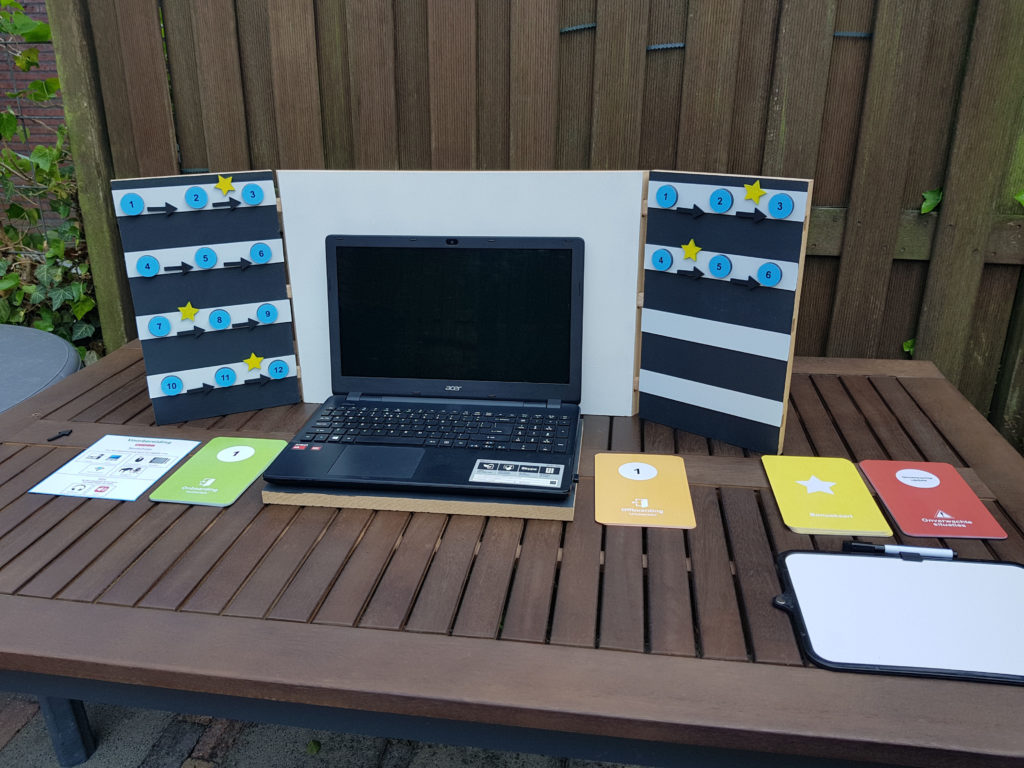
Image: Denise Wien.